[phpBB Debug] PHP Warning: in file [ROOT]/includes/bbcode.php on line 483: preg_replace(): The /e modifier is no longer supported, use preg_replace_callback instead
[phpBB Debug] PHP Warning: in file [ROOT]/includes/bbcode.php on line 483: preg_replace(): The /e modifier is no longer supported, use preg_replace_callback instead
[phpBB Debug] PHP Warning: in file [ROOT]/includes/bbcode.php on line 483: preg_replace(): The /e modifier is no longer supported, use preg_replace_callback instead
[phpBB Debug] PHP Warning: in file [ROOT]/includes/bbcode.php on line 483: preg_replace(): The /e modifier is no longer supported, use preg_replace_callback instead
[phpBB Debug] PHP Warning: in file [ROOT]/includes/bbcode.php on line 483: preg_replace(): The /e modifier is no longer supported, use preg_replace_callback instead
[phpBB Debug] PHP Warning: in file [ROOT]/includes/bbcode.php on line 483: preg_replace(): The /e modifier is no longer supported, use preg_replace_callback instead
[phpBB Debug] PHP Warning: in file [ROOT]/includes/bbcode.php on line 483: preg_replace(): The /e modifier is no longer supported, use preg_replace_callback instead
[phpBB Debug] PHP Warning: in file [ROOT]/includes/bbcode.php on line 483: preg_replace(): The /e modifier is no longer supported, use preg_replace_callback instead
[phpBB Debug] PHP Warning: in file [ROOT]/includes/bbcode.php on line 483: preg_replace(): The /e modifier is no longer supported, use preg_replace_callback instead
[phpBB Debug] PHP Warning: in file [ROOT]/includes/bbcode.php on line 483: preg_replace(): The /e modifier is no longer supported, use preg_replace_callback instead
[phpBB Debug] PHP Warning: in file [ROOT]/includes/bbcode.php on line 483: preg_replace(): The /e modifier is no longer supported, use preg_replace_callback instead
[phpBB Debug] PHP Warning: in file [ROOT]/includes/bbcode.php on line 483: preg_replace(): The /e modifier is no longer supported, use preg_replace_callback instead
[phpBB Debug] PHP Warning: in file [ROOT]/includes/bbcode.php on line 483: preg_replace(): The /e modifier is no longer supported, use preg_replace_callback instead
[phpBB Debug] PHP Warning: in file [ROOT]/includes/bbcode.php on line 483: preg_replace(): The /e modifier is no longer supported, use preg_replace_callback instead
[phpBB Debug] PHP Warning: in file [ROOT]/includes/bbcode.php on line 483: preg_replace(): The /e modifier is no longer supported, use preg_replace_callback instead
[phpBB Debug] PHP Warning: in file [ROOT]/includes/bbcode.php on line 483: preg_replace(): The /e modifier is no longer supported, use preg_replace_callback instead
[phpBB Debug] PHP Warning: in file [ROOT]/includes/bbcode.php on line 483: preg_replace(): The /e modifier is no longer supported, use preg_replace_callback instead
[phpBB Debug] PHP Warning: in file [ROOT]/includes/bbcode.php on line 483: preg_replace(): The /e modifier is no longer supported, use preg_replace_callback instead
[phpBB Debug] PHP Warning: in file [ROOT]/includes/bbcode.php on line 483: preg_replace(): The /e modifier is no longer supported, use preg_replace_callback instead
[phpBB Debug] PHP Warning: in file [ROOT]/includes/bbcode.php on line 483: preg_replace(): The /e modifier is no longer supported, use preg_replace_callback instead
[phpBB Debug] PHP Warning: in file [ROOT]/includes/bbcode.php on line 483: preg_replace(): The /e modifier is no longer supported, use preg_replace_callback instead
[phpBB Debug] PHP Warning: in file [ROOT]/includes/bbcode.php on line 483: preg_replace(): The /e modifier is no longer supported, use preg_replace_callback instead
[phpBB Debug] PHP Warning: in file [ROOT]/includes/bbcode.php on line 483: preg_replace(): The /e modifier is no longer supported, use preg_replace_callback instead
[phpBB Debug] PHP Warning: in file [ROOT]/includes/bbcode.php on line 483: preg_replace(): The /e modifier is no longer supported, use preg_replace_callback instead
[phpBB Debug] PHP Warning: in file [ROOT]/includes/bbcode.php on line 483: preg_replace(): The /e modifier is no longer supported, use preg_replace_callback instead
[phpBB Debug] PHP Warning: in file [ROOT]/includes/bbcode.php on line 483: preg_replace(): The /e modifier is no longer supported, use preg_replace_callback instead
[phpBB Debug] PHP Warning: in file [ROOT]/includes/bbcode.php on line 112: preg_replace(): The /e modifier is no longer supported, use preg_replace_callback instead
[phpBB Debug] PHP Warning: in file [ROOT]/includes/functions.php on line 4752: Cannot modify header information - headers already sent by (output started at [ROOT]/includes/functions.php:3887)
[phpBB Debug] PHP Warning: in file [ROOT]/includes/functions.php on line 4754: Cannot modify header information - headers already sent by (output started at [ROOT]/includes/functions.php:3887)
[phpBB Debug] PHP Warning: in file [ROOT]/includes/functions.php on line 4755: Cannot modify header information - headers already sent by (output started at [ROOT]/includes/functions.php:3887)
[phpBB Debug] PHP Warning: in file [ROOT]/includes/functions.php on line 4756: Cannot modify header information - headers already sent by (output started at [ROOT]/includes/functions.php:3887)
Tractorsport Flowbench Forum Archive • View topic - Valve Grinding Equipment

Valve Grinding Equipment

Place to post other shop equipment ideas or something you made and u'd like to share?

Postby 49-1183904562 » Mon Feb 02, 2009 12:02 am

Larry,

I had that setup at my old shop in the 80's, bid on one on eBay but they thought it was gold. I use the Neway for all my touch up stuff on Bikes. I think that low RPM overhead drive would be a great DIY project. But still use the old B&D setup to get me out of the tight spots :D

Max great idea.

Rick
49-1183904562
 

Postby jfholm » Mon Feb 02, 2009 11:52 am

It is a wise man that learns from his mistakes, but it is a wiser man that learns from the mistakes of others.
jfholm
 
Posts: 453
Joined: Sat Jan 17, 2009 7:12 pm
Location: Utah, USA

Postby pablo » Mon Feb 02, 2009 5:56 pm

The DIY motor drive system for the Neway cutters is something I would really be interested in building.
Do you have any concepts worked up for it yet?
pablo
 
Posts: 46
Joined: Fri Jan 23, 2004 9:08 pm
Location: 1011 county hm. rd. apt h-2 Conover nc. 28613

Postby Jginger » Mon Feb 02, 2009 10:43 pm

I use neway for all my rough work, for a driver I use a cordless drill, works great for me
Jginger
 
Posts: 5
Joined: Tue Feb 12, 2008 5:08 pm

Postby 200cfm » Tue Feb 03, 2009 11:15 pm

The new stones arrived yesterday from Woodward along with complimentary bag of peanuts. :) Stones are ruby general purpose: 1 9/16, 1 3/4, 1/7/8, 2.00 (2 ea.) 2 1/8 followed by a 2.0 Fine. All are 45's.

Today I tried them out on the test chamber intake. Read Ricks guidelines carefully again and gained some confidence.

Started with the 2 inch ruby. Didn't want to clear the chamber wall like the old ruff cut stone I had. So got it started on the high portion side and it made a nice chamber wall enlargement (about .015-.020.). Put the head gasket on and no issues. Since it was a 45, took the cut down to smooth up some the old coarse 45 cut. Looked ok but wasn't sure where the valve seat might end up at with the new valve which is 1.875 diameter. So decided to use the 1 7/8 to mark the edge of the seat. And used the red dykem for a marker. Really like this color. Here a view of the stages.

Started with red mark up on coarse cut 45.

Image

Then used the 2.0" 45 ruby to unshroud the chamber wall and start a fresh 45 cut. But I stoped it just short of the old 45 edge.

The decided to go with the 1 7/8 ruby to smooth up the coarse 45 cut and give a edge for the seat since this stone was the same diameter of the new valve.
[
At this point I decided to see how concentric the seat might be. The gauge showed a high spot runout on one section of .002. Barnhouse book says you can bias the stone driver toward high spots so I tried that. Took only two short bursts of the driver and that worked ok. Got the run out down to slightly under .001.

I then thought about the 30 degree top cut so using the dresser I put a 30 angle on the back side of the 2" ruby. Slowly added the 30 top cut. The tan color is the 30 cut. It is rather wide.

Image

To get a perspective on the changes I dropped in the old stude intake valve.

Image

Here is the future new valve. It is the 1 7/8 R-3 Stude valve offered on some Avanti engines in 63.

Image

Test fit seems to be ok. Note how nice the 2 inch stone helped the chamber wall.

Image

I then worked on the thoat. The 1 3/4 was to big so I went with a 1 5/8 stone with a 60. That would put the throat at 86.7% of new valve diameter. In making this cut it introduced a 90 down from the 45 seat before it started tapering to 60. I didn't like that 90 and couldn't figure out how to start the 60 at the bottom edge of the 45 seat. Finally took a guess chance that if I put a 60 on the back side of the 2" ruby I might could introduce a 60 by taking away some of the .100" margin the 45 seat had. That seemed to work. Slowly walked it up and learned that as the 60 reduced the margin of the 45 it also giave some depth 60 marign down toward the throat.

Here is where it now stands. I added red markers to judge the cut and eyeball the 45 margin. 45 seat margin ended up at .050". I was happy.

Image

Another final view.

Image

Tomorrow I will try to blend the bowl up to the throat where the 60 ends. I want be able to flow this chamber because it is the cut experimental chamber. But my confidence is up and I think I am ready for the adjacent chamber. I should have ordered a fine stone 1 7/8 instead of the 2.0 fine.

This was a slow effort here. A good 5 hours thinking out the procedure and taking my time. If anyone sees a miss step or better approach let me know. This is my first attempt on "stoning." (tom )
200cfm
 
Posts: 302
Joined: Fri Nov 17, 2006 10:52 pm
Location: Virginia

Postby 49-1183904562 » Wed Feb 04, 2009 6:42 pm

Tom,

Grind Grind Grind, You are gaining experience!

How did the valve lap?

Oh and BTW be careful what you say some of us are Stoners from way back :p

Rick
49-1183904562
 

Postby 200cfm » Wed Feb 04, 2009 11:34 pm

I decided not to lap because this seat want be used and didn't want to screw up the new valve. I placed an order for some 800 lapping compound but it hasn't arrived yet.
It was bitter cold here and didn't get much done. I've got a stray cat that sleeps in my garage and we both were trying to keep warm. Did just a little bowl blending to see how it might turn out.

Image

I started on the adjacent chamber intake. This one I will be able to flow. It's the red head chamber. I deshrouded the wall. And something looked different. Then realized I had installed the 2" ruby 30 side instead of the 45 side. So I am now ink marking each angle side on all stones along with the diameter. I can see now why more drivers would be nice to have around.

I think my drivers are worn to much on the inside. I can get some top end movement when seated on the pilot. Anyone know the pilot diameter on the sioux? The insert in the driver doesn't look like bronze. If the driver is worn can they be relined? Maybe I just need to buy one new driver and one new pilot.

Here is another issue. To dress a stone it would be nice to have three hands. Barnhouse motor book says to float the grinder in the palm of the hand when grinding the seats. Not to let the full weight of the grinder motor ride on the seat. So I follow those guidelines and the seats grind just fine. But on the stone dresser one has to let the full weight of the grinder seat on the pilot bushing while the other hand slowly walks the diamond cutter across the stone. It just seems the method is crude and angle error prone. tom
200cfm
 
Posts: 302
Joined: Fri Nov 17, 2006 10:52 pm
Location: Virginia

Postby 200cfm » Fri Feb 06, 2009 12:13 am

Anyone know if the Sioux stone driver or holder can be rebuilt. I called the company and they no longer support any of the cylinder head equipment tooling. It looks like there are three bushings up inside where the pilot rides. And I see a pin on the top side of the holder that is holding something together. The top side has 6 sided hexagon shape slot with a 1/2 diameter across each opposing side. I can buy a new driver but the top side is "star" shape and not hexagon. I may need new pilots too. Pilot diameter is suspose to be .385 but I am measuring around .381 to .380. (tom)
200cfm
 
Posts: 302
Joined: Fri Nov 17, 2006 10:52 pm
Location: Virginia

Postby jfholm » Fri Feb 06, 2009 10:12 am

Tom,
One become adept to holding the driver (motor) with one arm so it does not rest 100% when grinding seats or dressing the stones. The trouble with that is your forearms start looking like Popeye's did. Honestly my forearms used to be 1.5" bigger in diameter than my biceps.

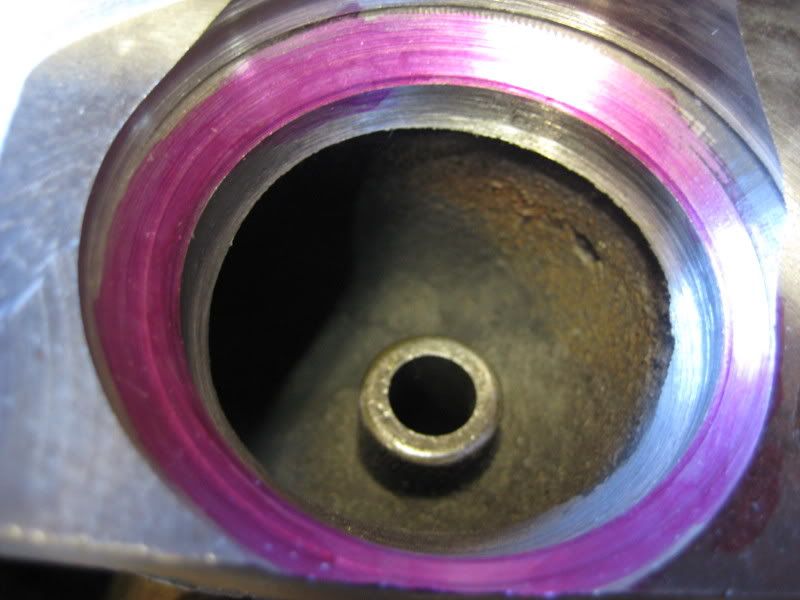
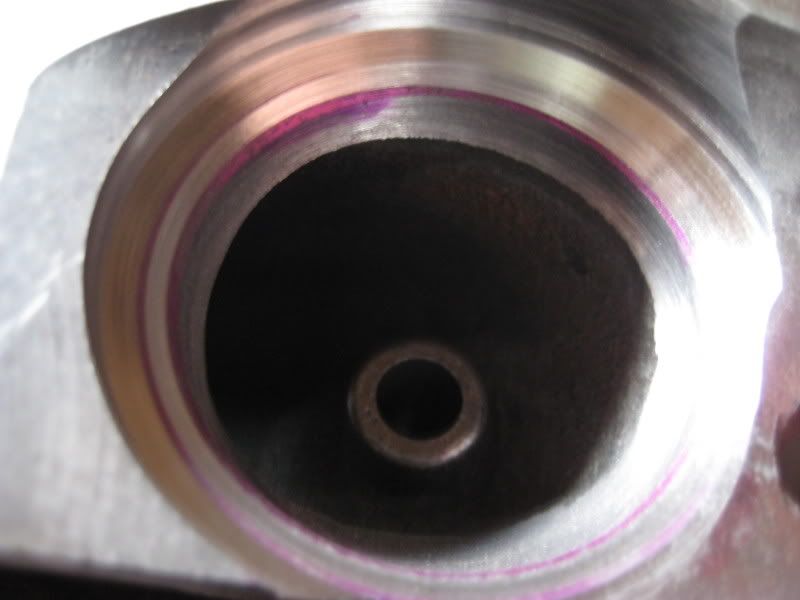
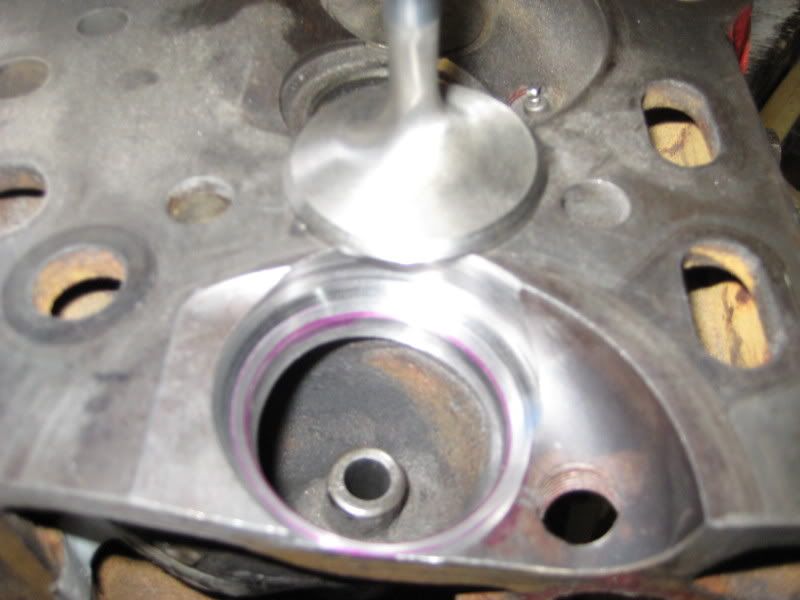
On the pilots the top does wear more than the rest and that can cause a wobble and make it hard to get round seats.

I would watch ebay as I have seen stone holders come through off and on.

But so far it looks good as to what you are doing. I always enjoyed grinding seats for some weird reason.

John
It is a wise man that learns from his mistakes, but it is a wiser man that learns from the mistakes of others.
jfholm
 
Posts: 453
Joined: Sat Jan 17, 2009 7:12 pm
Location: Utah, USA

Postby 200cfm » Tue Feb 10, 2009 10:03 pm

Yes, I am getting end play at the very top when the driver and stone are seated down on the pilot. Pilot should be .385 and I mic .383 at the top. But the majority of the play is from the driver. If I could find a new old stock resleeve kit for the driver I would be better off. I have learned this model of Sioux is rather old. At least 50 - 60 years. That would put it back when studes and Hudson roamed the plains. This driver has only sleeves or bushings up inside, not bearings. And the wear in the driver is an issue with the stone dresser. I don't trust the angle cut because of the top end play.

What is the proper way to use the Sioux concentricty gauge? The needle floats on this plunger that sits on the top of the pilot. The inside portion is held to the case by three outside tiny screws. They control the rotation setting of the gauge. But the plugger is not in the center. It is offset. Should it be adjusted for the center or should it stay off center? I speak of the plunger pin. I have it set to ride the other edge of the pilot. Should it rotate around the edge of the pilot? Should it be centered? There is a hole or pocket dead center in the pilot. Is that where the plunger pin should go? The photo in the Barnhouse book shows one that is slightly different from mine. Close, but not identical. Hard to explain this device in words. (tom)
200cfm
 
Posts: 302
Joined: Fri Nov 17, 2006 10:52 pm
Location: Virginia

Postby WPH » Mon Sep 21, 2009 2:49 pm

My valve grinder restoration/upgrade project is almost finished, a new flexible shaft, belt and stone guard still needed.
The electric motor is not original, I decided to replace it with something more safe and reliable. I don't like "vintage"
electricity very much, we use 230V single phase where I live.
Couple of pictures shot today:

Image

Image

1.5mm 45deg seat, 30deg undercut just fresh out of the grinder.
Looking good, only minor issues left to deal with. I think it will cut even better after that.

Image
Pekka
WPH
 
Posts: 81
Joined: Thu Oct 18, 2007 3:20 pm
Location: Kuusamo, Finland

Postby 200cfm » Mon Sep 21, 2009 10:38 pm

Very very nice. I have a slight wobble from mine. I made a 30 backcut on a valve yesterday and I noticed a margin error. Anyone know a solution?
200cfm
 
Posts: 302
Joined: Fri Nov 17, 2006 10:52 pm
Location: Virginia

Postby WPH » Tue Sep 22, 2009 12:35 am

Does it leave a "wobbly" surface to grinded area? I noticed the same thing on mine and I think it's related to collet
shaft play and rotation. Seems like the stone is chattering like a seat cutter when you use too much rpm.
Pekka
WPH
 
Posts: 81
Joined: Thu Oct 18, 2007 3:20 pm
Location: Kuusamo, Finland

Postby 200cfm » Tue Sep 22, 2009 8:41 am

Yes, the margin is higher on one side than on the other by a few thousands. You can see it with the eye as you rotate the valve around an view the margin. Stone is new and the lubricant makes a nice smooth surface cut on the valve. Very pleased with the surface cut but the wobble would make the actual 45 seat (if I were to reface it) end up with a wobble too and that would be a seal problem on the head seat I would think. I took apart the collet and cleaned it up nicely and got out all the crude and grit but it didn't make the margin width any more equal. It's an old collet and don't think I can get any parts.
200cfm
 
Posts: 302
Joined: Fri Nov 17, 2006 10:52 pm
Location: Virginia

Postby blaktopr » Tue Sep 22, 2009 10:10 pm

This one is next on the project list...but works well.
Chris Sikorski
blaktopr
 
Posts: 336
Joined: Fri Mar 14, 2008 8:03 pm
Location: New Jersey

PreviousNext

Return to Other DIY shop equipment

Who is online

Users browsing this forum: No registered users and 1 guest